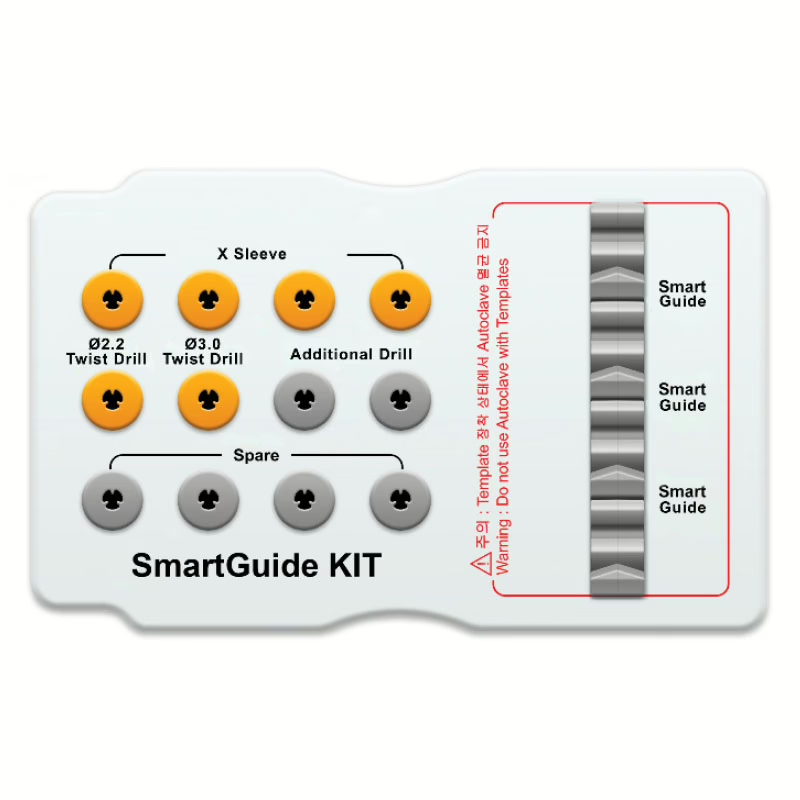
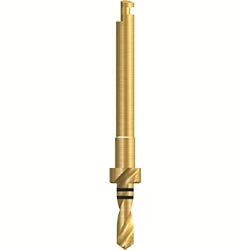
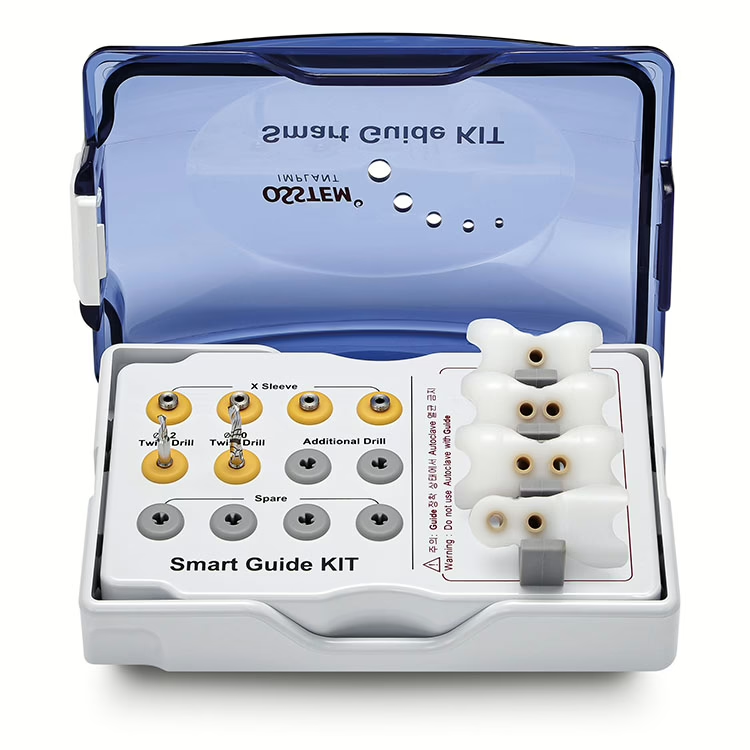
Smart-Guide-Kit
Adjustable
Adaptable & easy-to-use drilling templates for precise implantation
Precise
Optimal sleeve length enables stable drill guidance and a precise drilling path
Versatile
System-independent templates, compatible with various implant systems
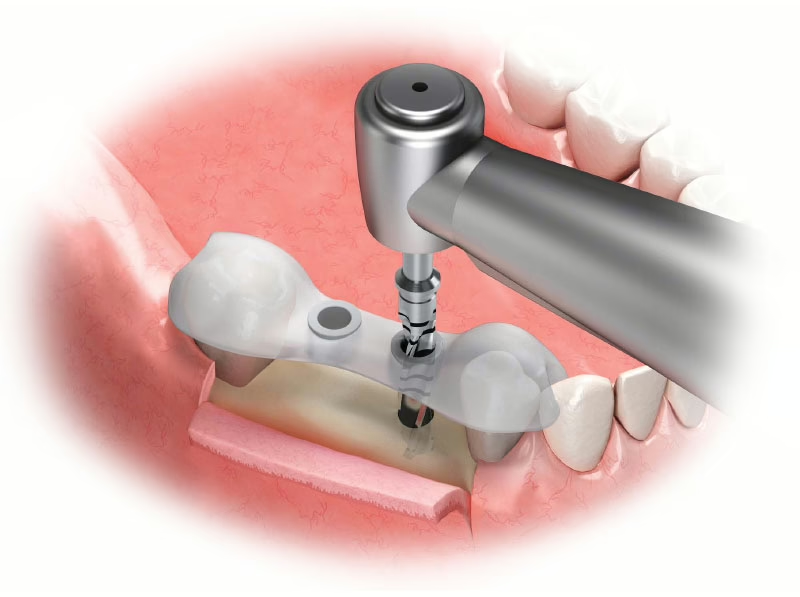
Features of the Smart Guide Kit
- Adaptable drilling template
- Pre-formed three-dimensional design
- Four variants of the Smart Guide
- Stable drilling guide
- Very easy to use
Smart Guide: Simple and precise implant positioning
The perfect solution for precise and individual drilling templates! Developed for dentists, the Smart Guide offers numerous advantages. Thanks to the thermoplastic resin, the Smart Guide can be easily adjusted. Simply soak it in 70°C water for 1 minute and it becomes flexible. The template can then be easily shaped to ensure a tailor-made fit.
The Smart Guide is an efficient and reliable solution for chairside dental implantology procedures.
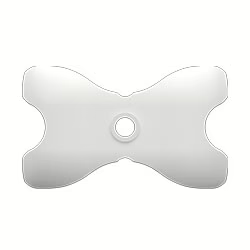
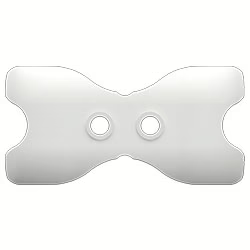
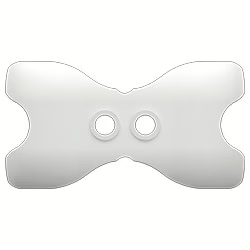
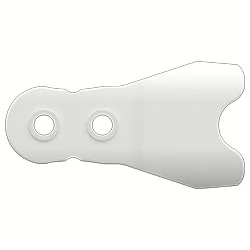
Four Different Smart Guide Templates
- Osstem Implant’s Smart Guides are available in four different preformed drilling templates

Preformed three-dimensional design shortens preparation time
- Made from thermoplastic resin and easy to handle
- Smart Guides are already preformed three times and can be ideally adapted to the respective indication
- Can be used with different implant systems
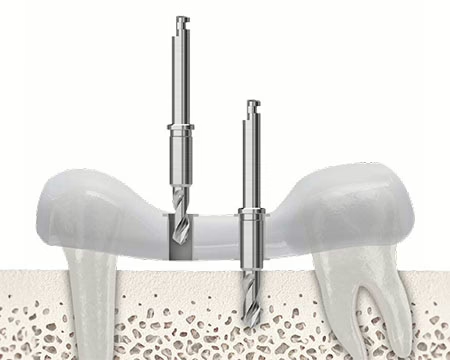
Optimal sleeve length enables stable drill guidance
- The sleeve length is designed so that the drilling path is precise and the drill remains stable in the template
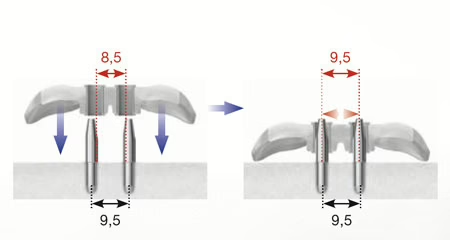
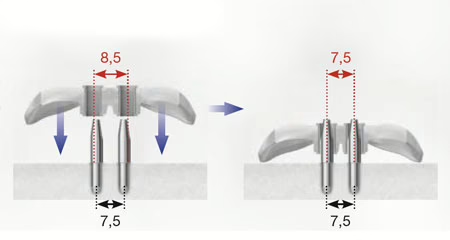
The customizable drilling templates enable precise implantation
- The template can automatically adjust 1 mm in both directions
Preparation and use
Preparing the Smart Guide
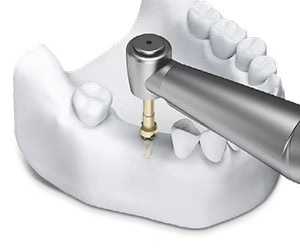
Step 1: Drilling on the laboratory model at the location and in the direction according to the planned implantation
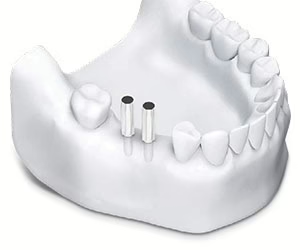
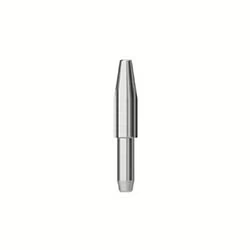
Step 2: Inserting the guide pins

Step 3: Soaking the Smart Guide Thermoplastic in 70 degree warm water for 1 minute
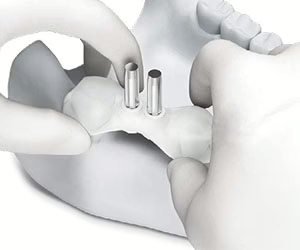
Step 4: Attach the heated thermoplastic to the guide pins positioned in the model and shape it individually
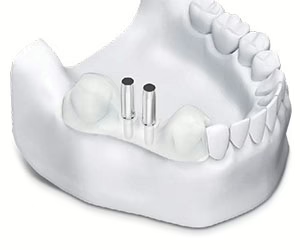
Step 5: Curing the Smart Guide (about 1 minute)
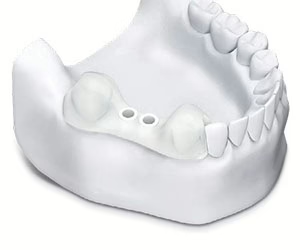
Step 6: After removing the guide pins, the drilling template is ready for use
Using the Smart Guide
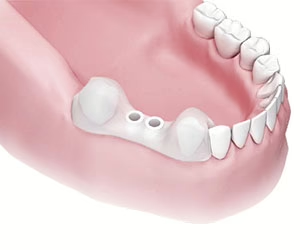
Step 7: After disinfection at low temperature, check whether the Smart Guide has been correctly placed in the oral cavity
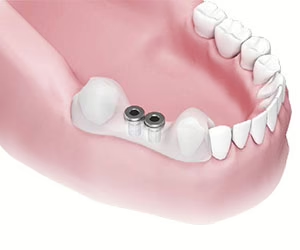
Step 8: Insert the scan sleeves outside the oral cavity before repositioning the SmartGuide for a CT, X-ray or DVT
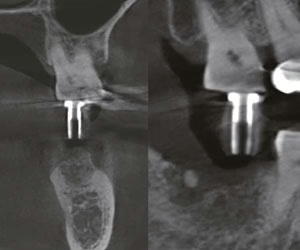
Step 9: Check the position and direction of the drilling on the CT or X-ray

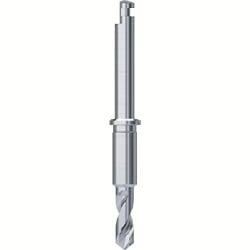
Step 10: Remove the scan sleeves and make an initial drilling with a Ø2.2 drill

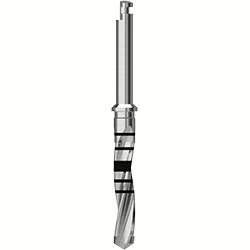
Step 11: Additional drilling with a Ø3.0 drill
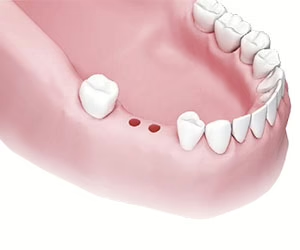
Step 12: Removing the Smart Guide and performing the final drilling

“The Smart-Guide-Kit provides a fast and user-friendly method to create customized surgical drill guides for standard situations using thermoplastic blanks on a planning model. These guides can be verified with CBCT imaging and are invaluable for transferring radiological findings and measurements to the surgical site.”

– Dr. med. Dr. dent. Matthias Kaupe, GER
Maxillofacial Surgeon & Implantologist
Components of the Smart-Guide-Kit
